


Video Player is loading.
1
112
views •
June 1, 2019
CLEANING UP YOUR CAR PHOTOGRAPHY - Step 2 | Photoshop Tutorial
The Car Creative
0 Followed
NEXT LESSON: Step 3 - MAKE YOUR CAR PHOTOGRAPHY STAND OUT | How to HIGHLIGHT YOUR CAR in Photoshop & Lightroom
https://youtu.be/FgcDpqhf8l0
Hey guys, this is the second step in a 4 part series where I go through the 4 basics steps that I take for editing my professional car photography using Adobe Lightroom and Photoshop. In the first lesson we will talk about the basics of tone, exposure, contrast and saturation. Following that we will learn some simple tools in Adobe Photoshop to clean up our image and remove anything we don’t want. Thirdly, we will look at highlighting and drawing attention to our subject, in this case our car. And lastly, we add style! Style is of course dependant on you and what you like but I will show you how I create my style and how I use a reference photo to create a linear look across my social platforms.
I hope you can learn something as we go through the steps of my process, and I'll toss in some tips and tricks to help you along the way.
Come check me out on Instagram: https://www.instagram.com/thecarcreative/
Step 1 - The Basics | Exposure, Tone, Contrast, Saturation: https://youtu.be/gjiT53o3ftc
Step 3 - Make your Car Photography STAND OUT | How to HIGHLIGHT YOUR CAR in Photoshop & Lightroom: https://youtu.be/FgcDpqhf8l0
Step 4: Adding STYLE to your Car Photography: https://youtu.be/gPbZ-5_TRnQ
Show All 
Comment 0
Recommend
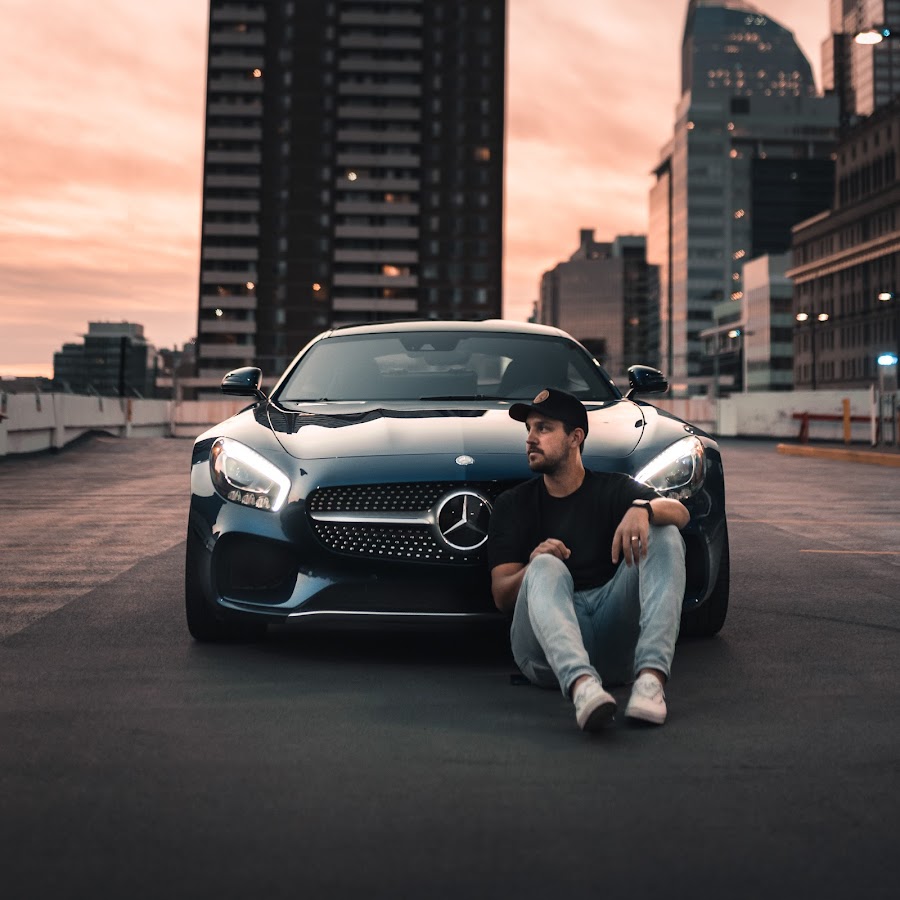
SIGMA 35mm ART f/1.4 Lens Review - IS IT ANY GOOD for CAR PHOTOGRAPHY?
The Car Creative
49 views · 3 years ago
How to make ANIMATED INSTAGRAM STORIES for FREE!
The Car Creative
61 views · 3 years ago
Porsche Cayenne Coupe Review - Is this the BETTER Cayenne??
The Car Creative
143 views · 3 years ago
Son Gifts Dad With Dream Car | Humanity Life
Humanity Life
1.0K views · 2 years ago
Complete Car Clean | Humanity Life
Humanity Life
1.1K views · 2 years ago
Mighty Pickup Trucks | Humanity Life
Humanity Life
990 views · 2 years ago
Motorbike Chases Hit and Run Car | Humanity Life
Humanity Life
1.3K views · 2 years ago
Man Removes Wheel Clamp With Bare Hands | Humanity Life
Humanity Life
523 views · 2 years ago
Iceland 4K • Nature Relaxation Film • Relaxing Music & Nature Soundscapes
Relaxation Film
85 views · 3 years ago
Canada 4K - Relaxing Music and Beautiful Nature - Relaxation Film
Relaxation Film
1.5K views · 2 years ago
Hawaii 4K • Relaxing Music & Nature Soundscapes • Relaxation Film
Relaxation Film
994 views · 2 years ago
Antarctica 4K • Nature Relaxation Film • Calming Music & Relaxing Music
Relaxation Film
59 views · 3 years ago
Bali Island 4K • Nature soundscapes & Calming Music • Relaxation Film
Relaxation Film
85 views · 3 years ago
The Alps 4K • Nature Relaxation Film • Relaxing Music & Nature Soundscapes
Relaxation Film
225 views · 3 years ago